Metrici Installation Guide
Step-by-step installation guide

Table of Contents
Introduction
What You Are About to Install
The Metrici v4.0 installer is a single shell script (.sh file) that sets up everything you need to run Metrici on your machine: the Control Panel, all the recognition engines (LPR, Area Counter, Line Counter, Parking Place Detector, QR, Container Codes, Thermal Analyzer and more), the web interface, the required system services and all dependencies.
The installer is designed to be run once, on a fresh Ubuntu 24.04 LTS install. After the script finishes, the Control Panel and the web interface are ready to use.
You Don't Need a License to Get Started
By default, a fresh install runs in demo mode. You don't need to do anything to enable it — it is the implicit mode the software boots in after installation. Demo mode gives you:
- All engines installed — every recognition module is present and works exactly the same as in the licensed version.
- Up to 2 engines running at the same time — you can mix and match (e.g. one LPR + one Area Counter, or two LPR instances, etc.).
- A 30-day evaluation window — counted from the date of installation.
This is enough to fully evaluate the system end to end: configure cameras, test recognition, explore the web interface and the Control Panel. When you are ready to move past the limits, you can obtain a SENTINEL key or a software license to unlock unlimited engines and remove the 30-day expiry. Please contact us at support@metrici.ro.
What the installer does (technical details)
- Detects your GPU and installs NVIDIA, Intel, or AMD drivers automatically.
- Installs Apache, PHP 7.4 (with IonCube), MySQL and Memcached.
- Installs Qt5, GStreamer, OpenCV 4.11 and the Pylon SDK for Basler cameras.
- Creates the
metrici2database and imports the schema. - Installs all Metrici engines (LPR, LPR+, Area Counter, Line Counter, PPD, Control Panel) to
~/metrici/. - Installs the SENTINEL license daemon so the USB dongle is recognized.
- Deploys the web interface to
/var/www/html. - Configures the Control Panel to start automatically at login.
- Sets up cron jobs for housekeeping (event cleanup, alarm checks).
- Creates a 512 MB RAM disk at
/ramdiskfor fast temporary I/O. - Installs TeamViewer for remote support and disables the UFW firewall.
- Writes a summary to
install.log.
How Long Does It Take?
The installation typically takes 20 to 35 minutes, depending on your internet connection and the speed of your machine. Most of that time is the installer downloading packages and dependencies — you don't need to type anything during that period, just leave it running.
Download
Before we install we need to download the script. Open a web browser on your Ubuntu machine. On a fresh install this is usually Firefox, which comes preinstalled. Paste the following address into the address bar:
https://support.metrici.ro/software/metrici-installer/metrici2-v4.0-installer-2026-02-11.u24.shThe script will begin to download automatically.
Installation
Now we need to make the file we downloaded executable. Open a terminal in the folder where you downloaded the script — usually the Downloads folder — by right-clicking in an empty area and choosing Open in Terminal.
Now paste the line below in the terminal and press enter — see Fig.1 Executable Script .
chmod +x metrici2-v4.0-installer-2026-02-11.u24.sh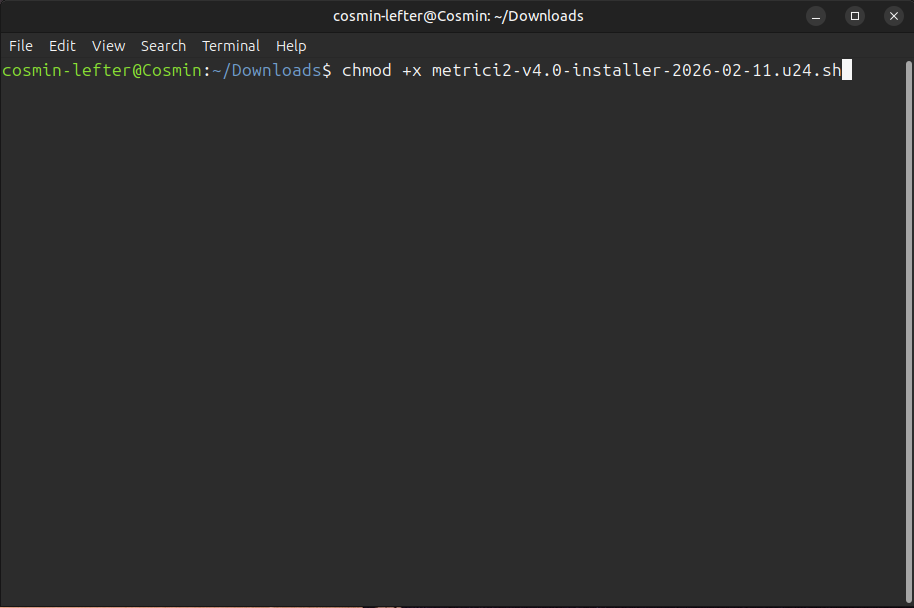
You can also make the file executable with right-click in the file. Choose Properties. In the new window go to Permissions tab and chech the box with "Allow executing file as program".
Now we can move to installation. In the same terminal type ./metrici2 and then press Tab — see Fig.2 Install. This will autocomplete the filename so you don't have to type it all out.
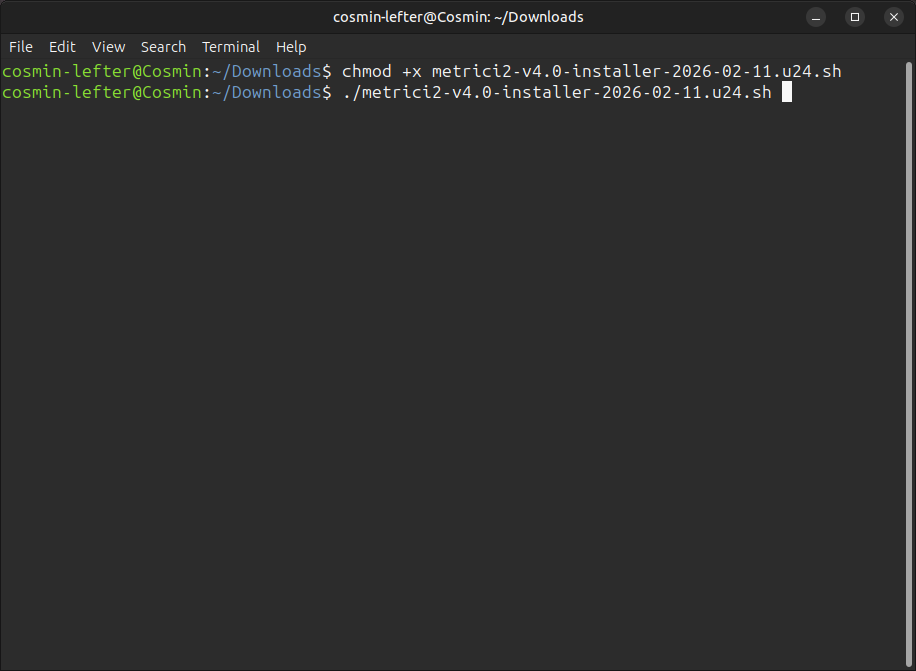
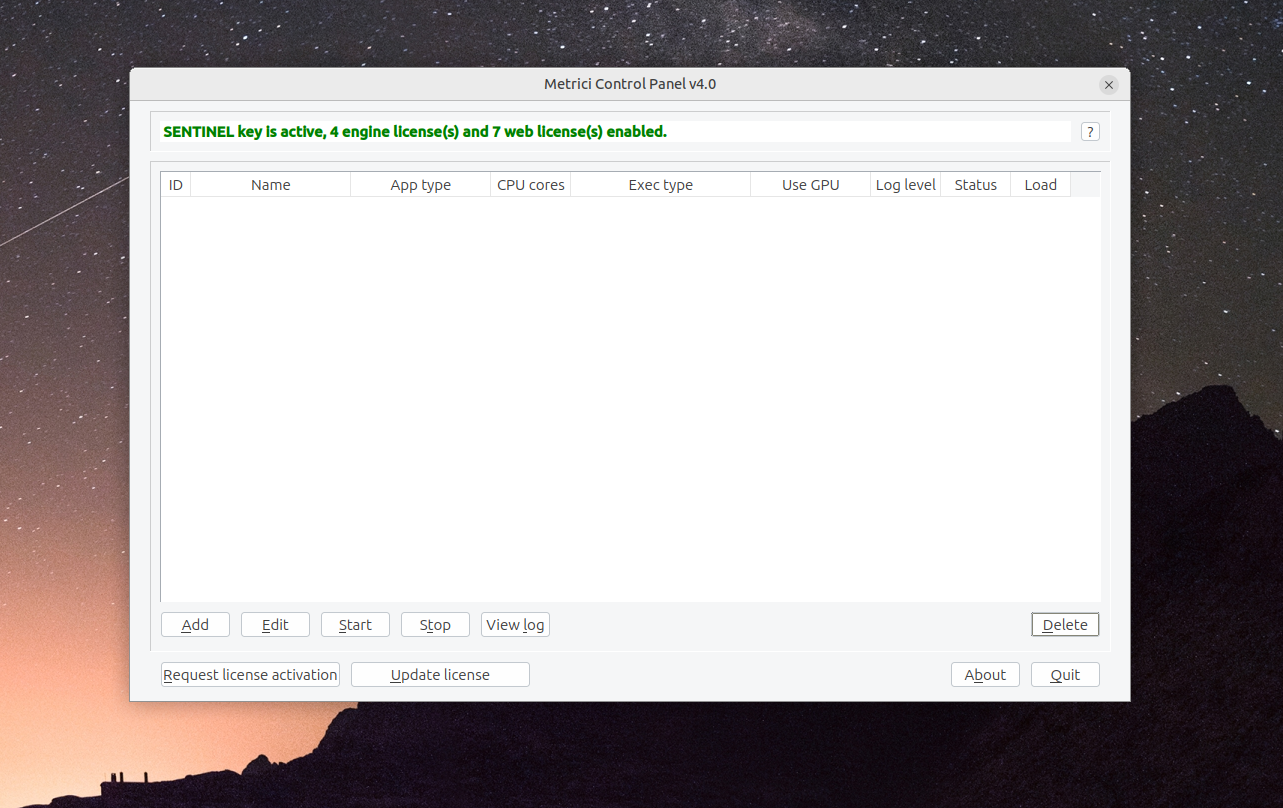
Now press enter and the installation will begin. After the installation is complete Metrici Control Panel will be open automatically and you can start to configure the engines — see Fig.3 Control Panel .
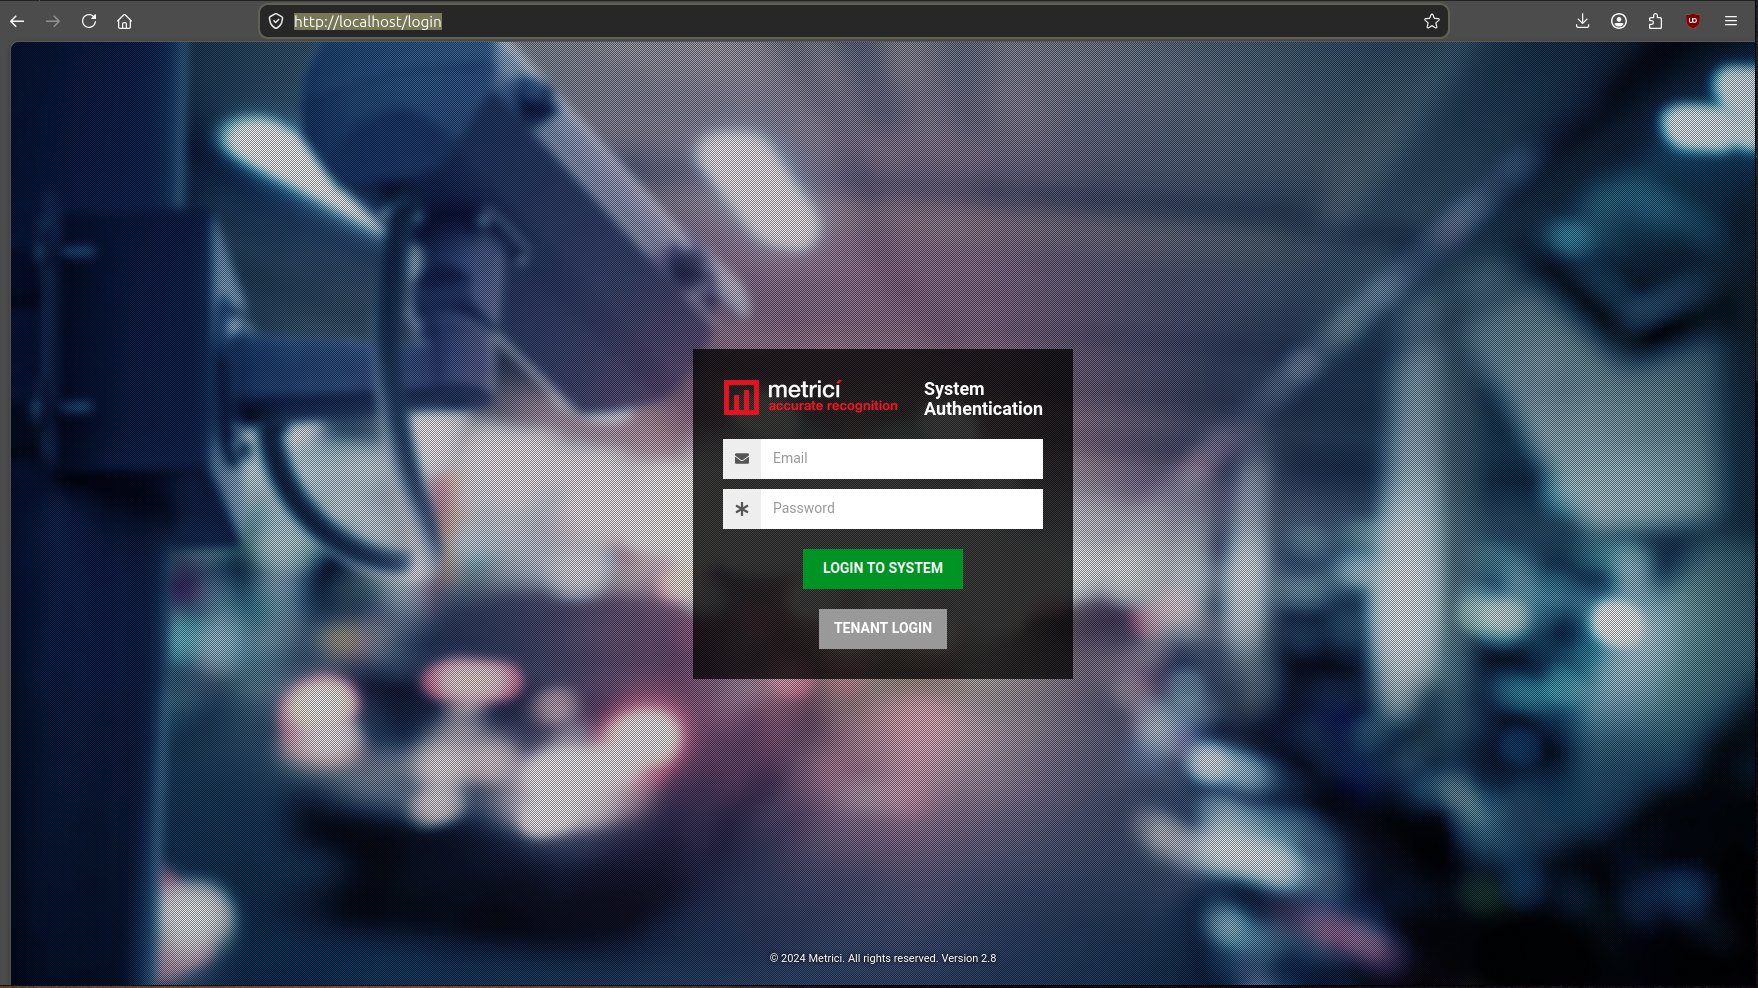
You can also access the web application by opening the browser and typing:
http://localhost/loginA login window will open where the default username and password are:
| Field | Value |
|---|---|
| User | metrici@metrici.ro |
| Password | metriciadmin |
For an in-depth guide on how to configure Metrici Control Panel, engines and the Web Application please visit https://docs.metrici.ro.