Ubuntu MATE 24.04 LTS
Operating System Installation Guide for Metrici Servers

Table of Contents
1. Before You Begin
Metrici software runs on the MATE edition of Ubuntu. You must download Ubuntu MATE — not the standard Ubuntu Desktop. They are different systems, and only the MATE edition is supported for Metrici.
Download Ubuntu MATE 24.04 LTS
Download the installation image (ISO) from the official Ubuntu MATE website:
Download Ubuntu MATE 24.04 LTS https://ubuntu-mate.org/download/
To prepare for the installation you will need:
- The computer or server where Ubuntu MATE will be installed.
- A USB stick (8 GB or larger) — its contents will be erased.
- A tool to write the ISO to the USB stick, such as balenaEtcher or Rufus.
After writing the ISO to the USB stick, boot the computer from it and choose Try or Install Ubuntu MATE. When the desktop appears, double-click Install Ubuntu MATE 24.04 LTS to start the installer, then follow the steps below.
2. Step-by-Step Installation
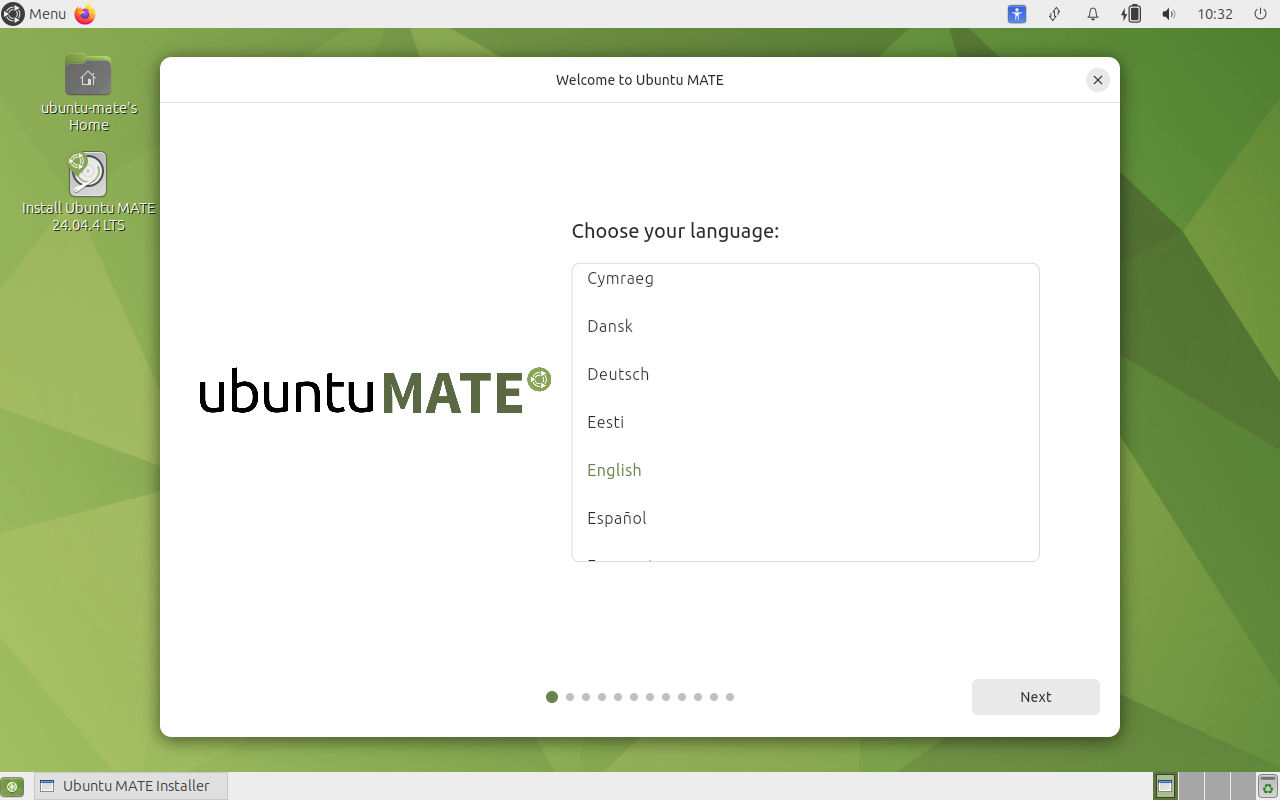
Step 1 — Choose Your Language
Select English from the list, then click Next. See Fig.1 — Choose your language.
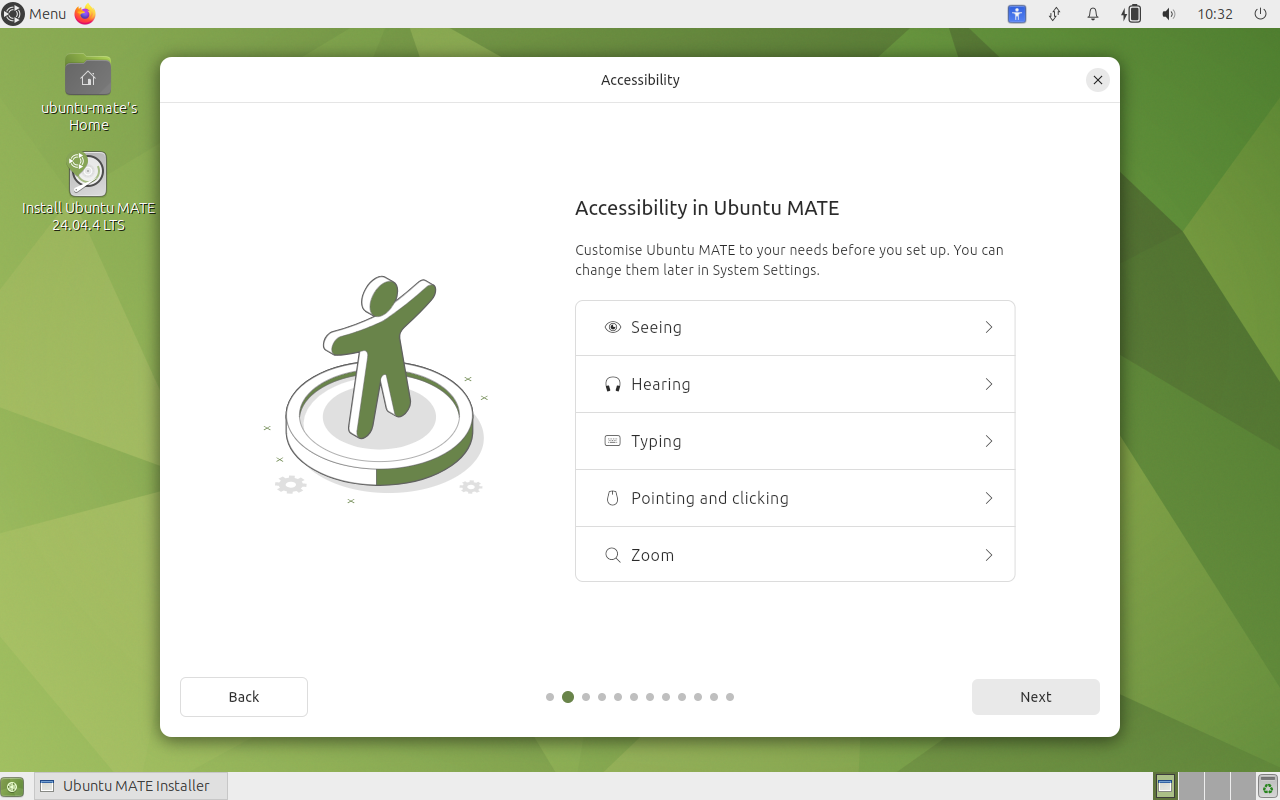
Step 2 — Accessibility
No changes are needed on this screen. You can adjust these options later in System Settings if required. Click Next. See Fig.2 — Accessibility.
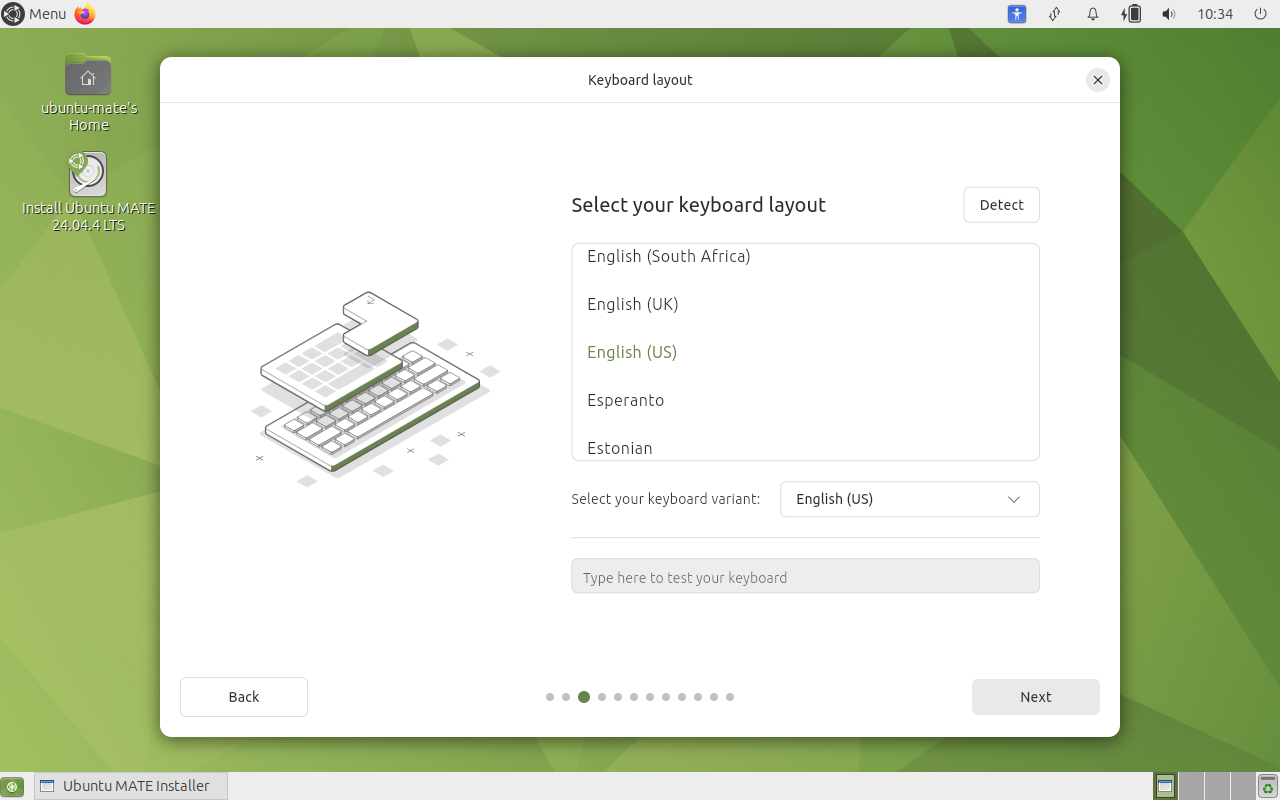
Step 3 — Keyboard Layout
Select English (US) for both the keyboard layout and the keyboard variant, then click Next. If your physical keyboard is different, choose the layout that matches it. See Fig.3 — Select your keyboard layout.
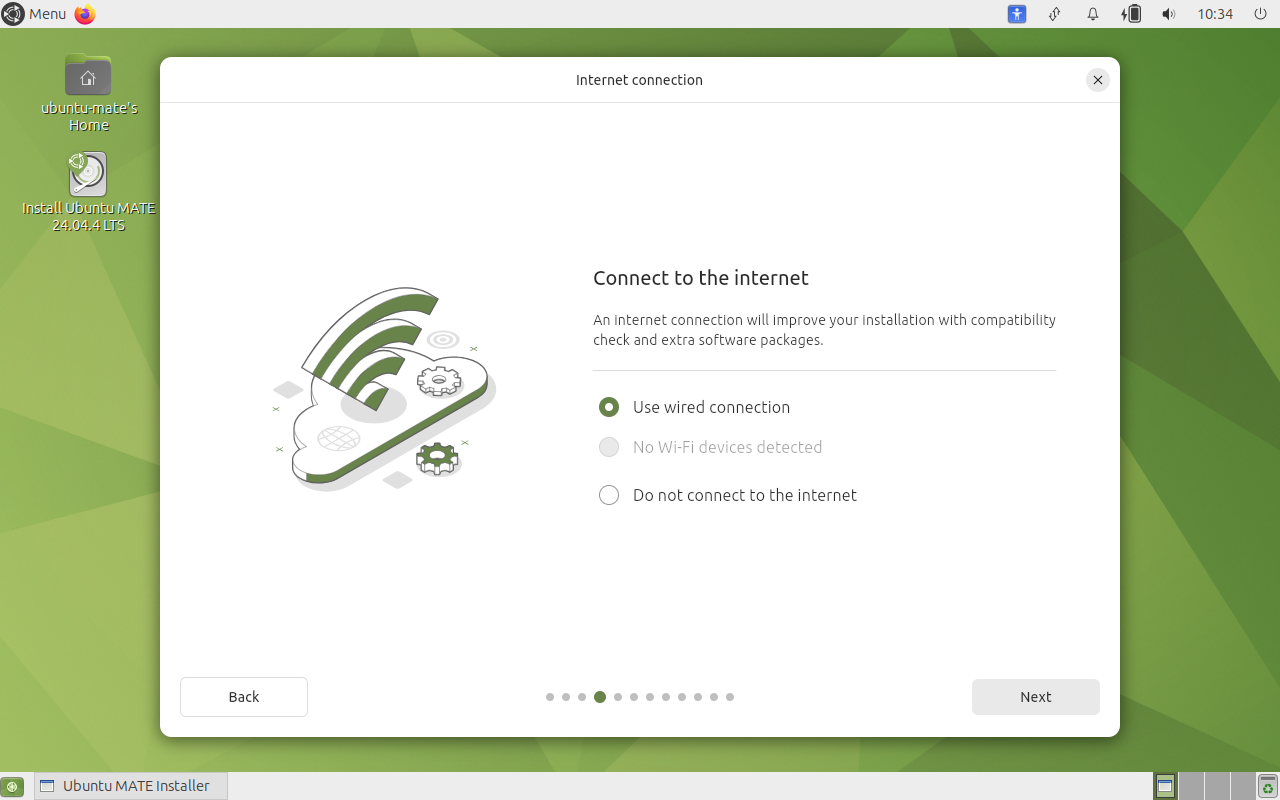
Step 4 — Internet Connection
Select Use wired connection, then click Next. See Fig.4 — Connect to the internet.
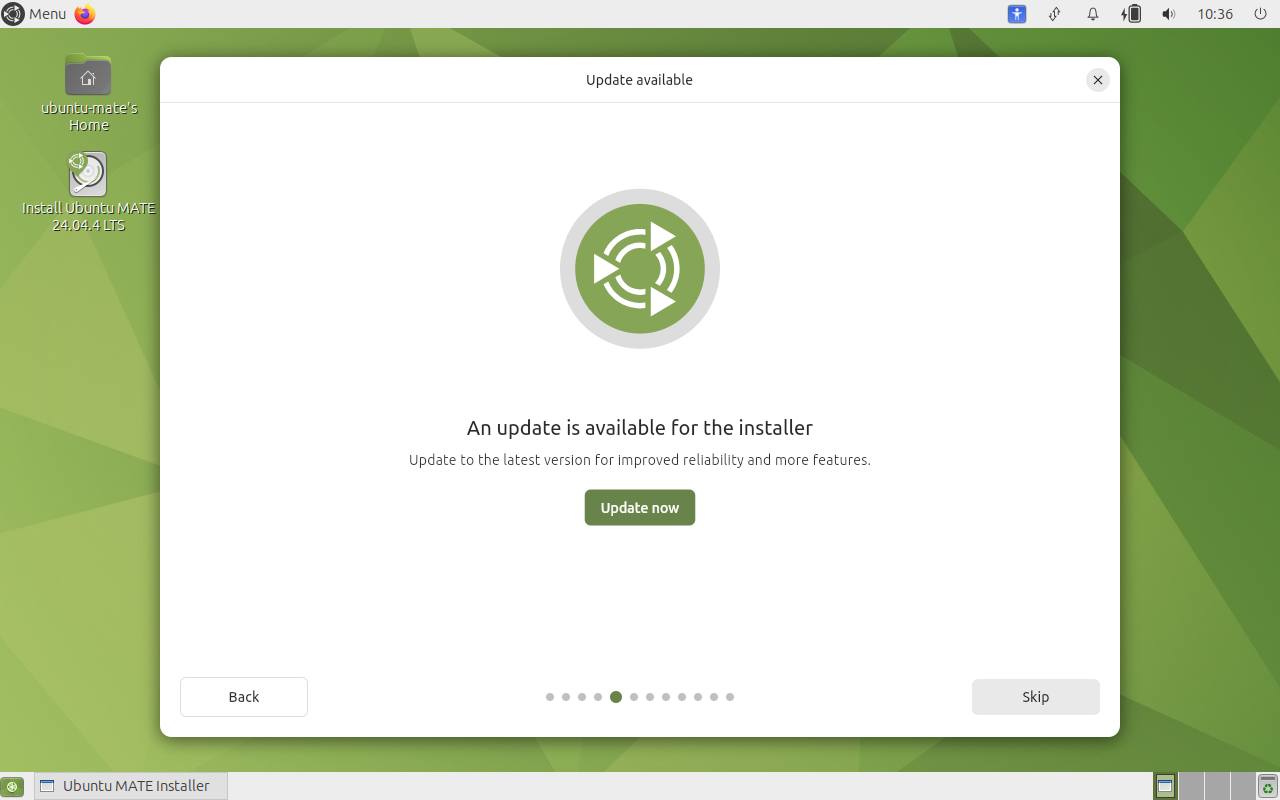
Step 5 — Update the Installer
If the installer offers an update, click Update now. This installs the latest version for improved reliability. See Fig.5 — An update is available.
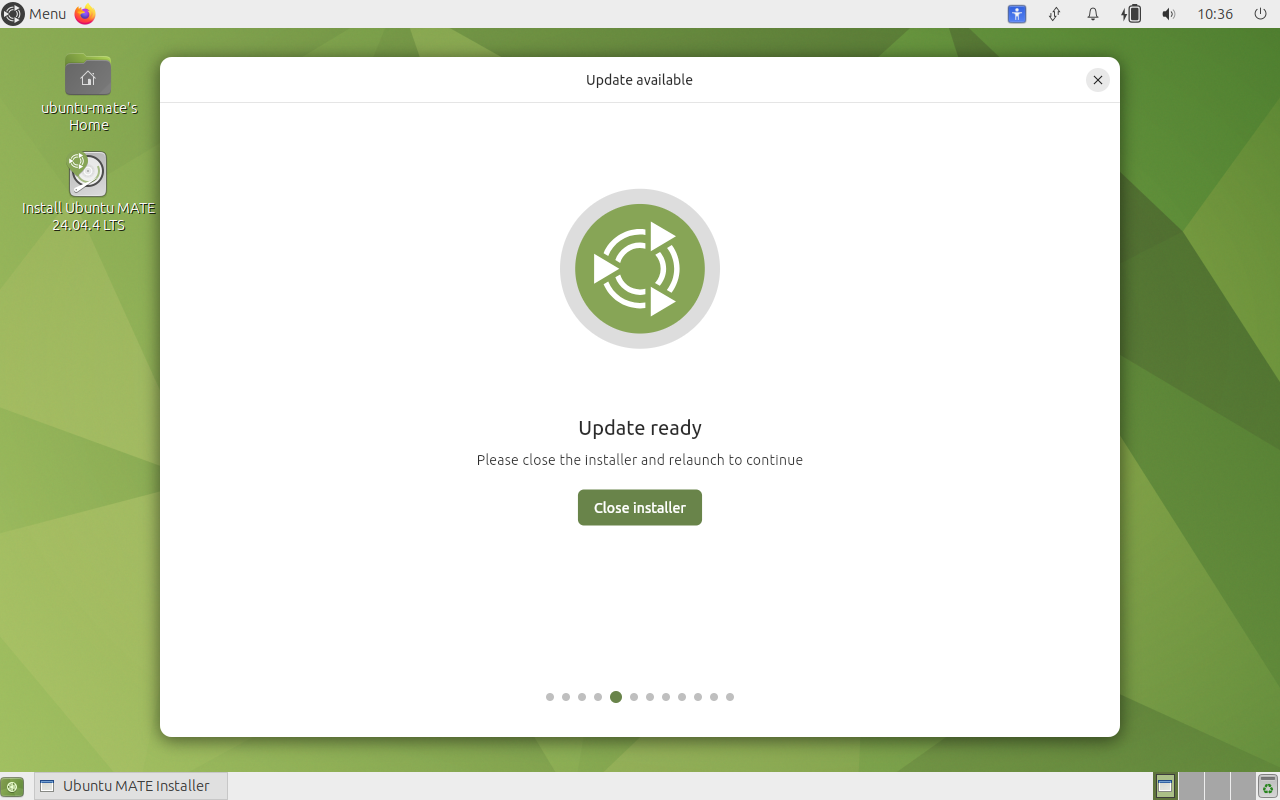
When the update is ready, the installer asks you to relaunch. Click Close installer. See Fig.6 — Close the installer to apply the update.
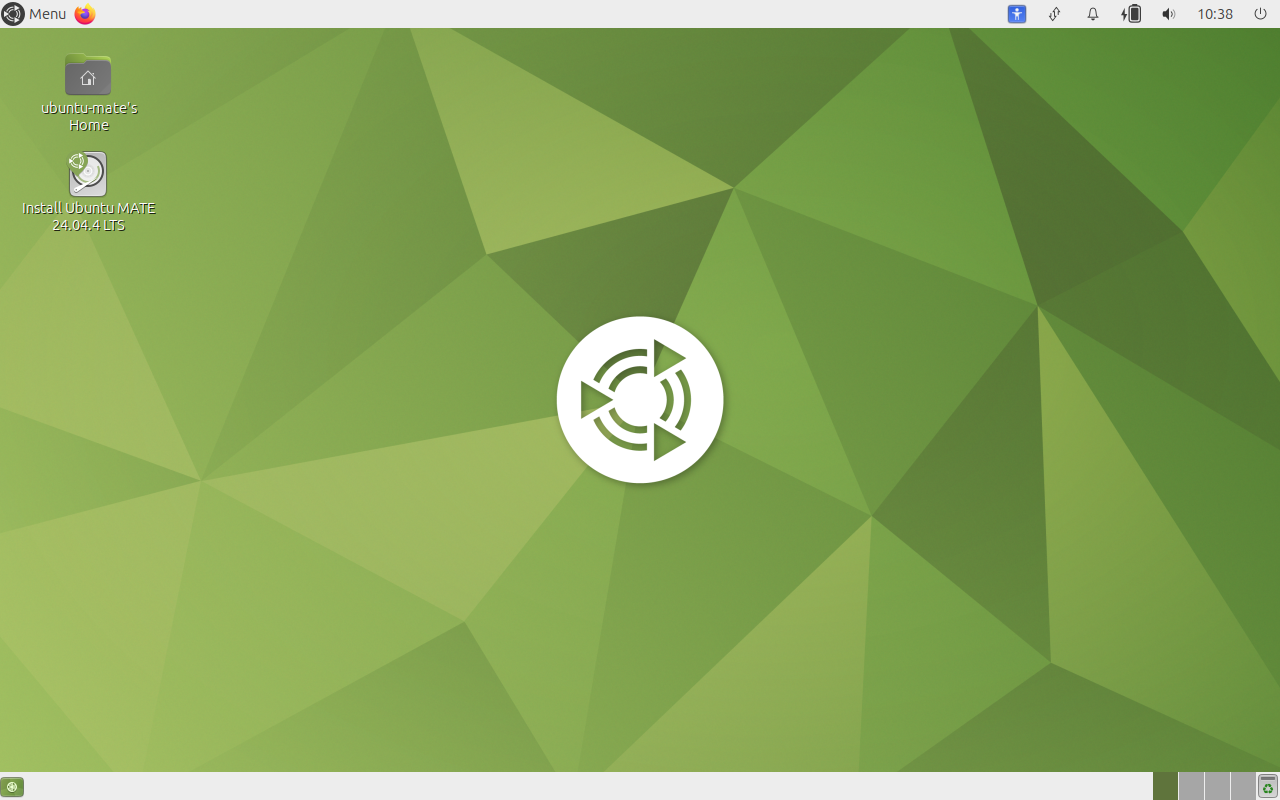
The installer closes and you return to the desktop. Double-click Install Ubuntu MATE 24.04 LTS to start it again. See Fig.7 — Reopen the installer from the desktop.
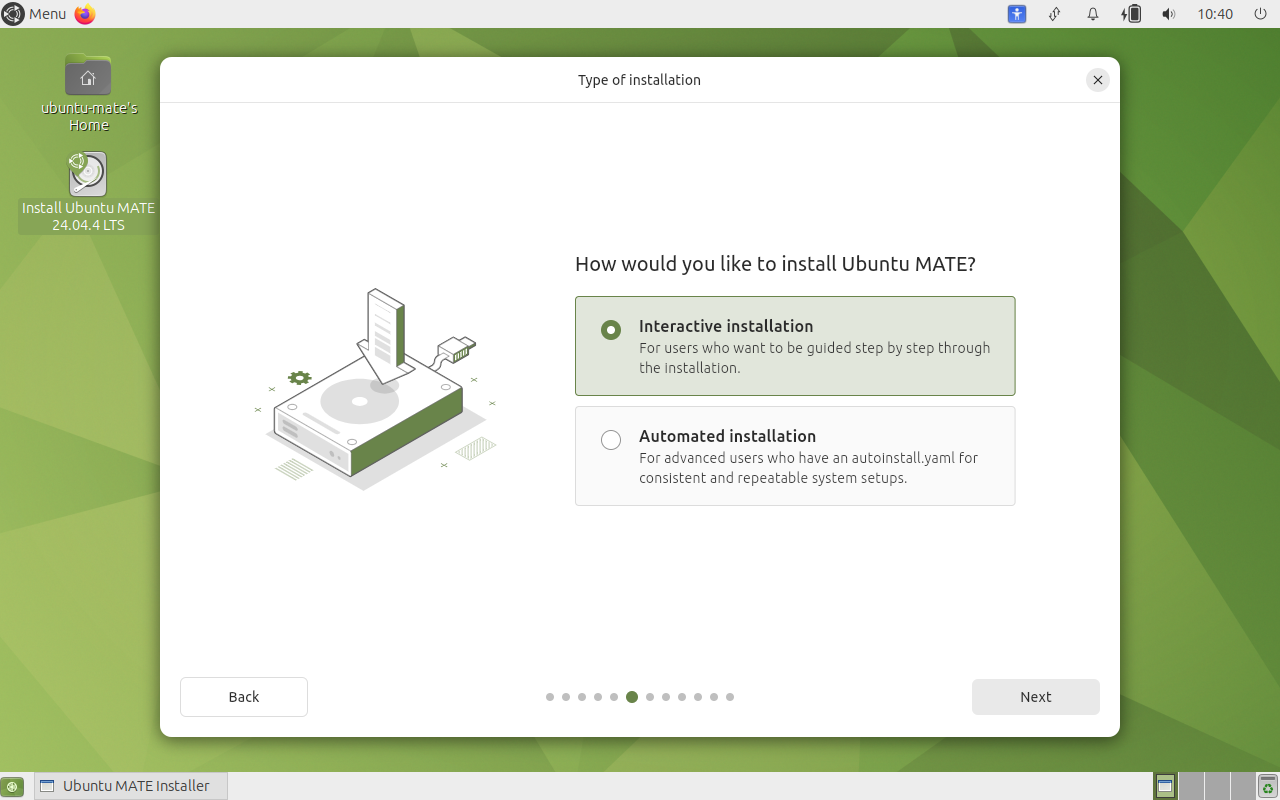
Step 6 — Type of Installation
Select Interactive installation, then click Next. See Fig.8 — Interactive installation.
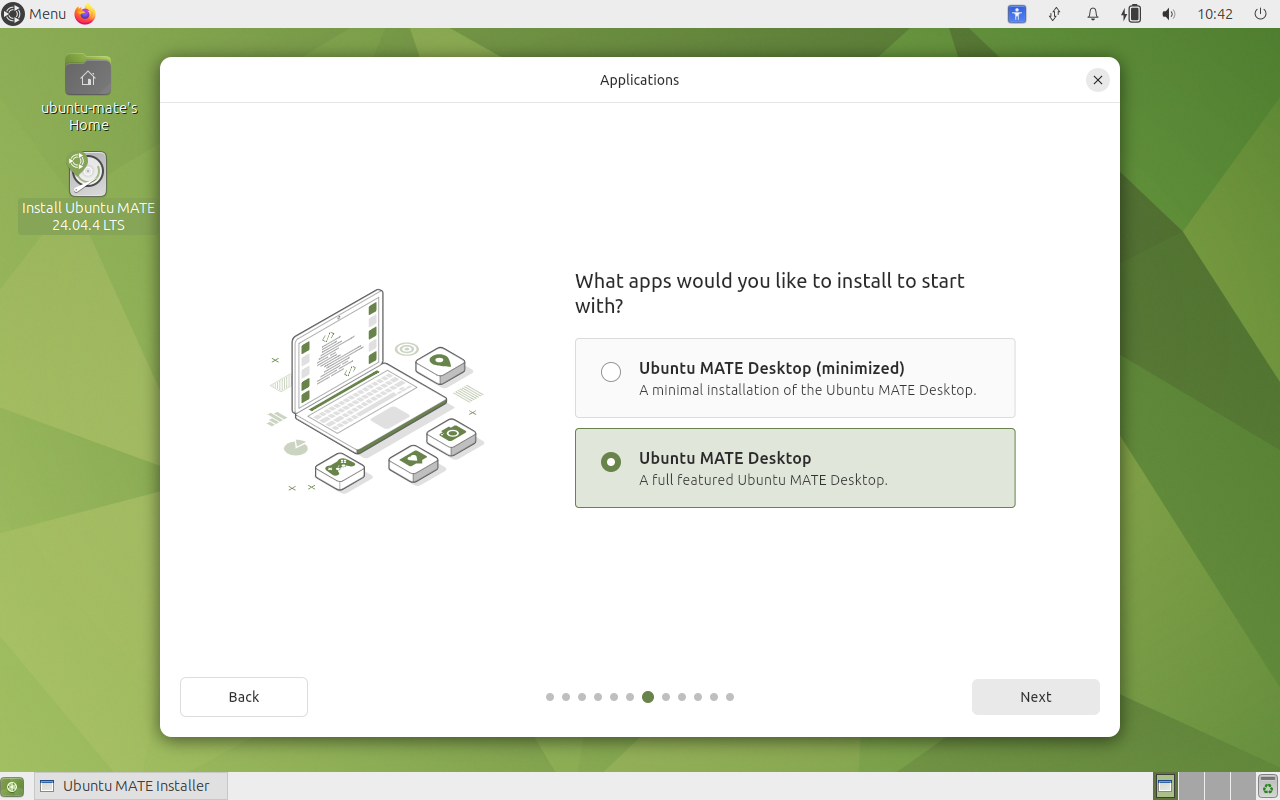
Step 7 — Applications
Select Ubuntu MATE Desktop — the full-featured option, not the minimized one — then click Next. See Fig.9 — Ubuntu MATE Desktop (full).
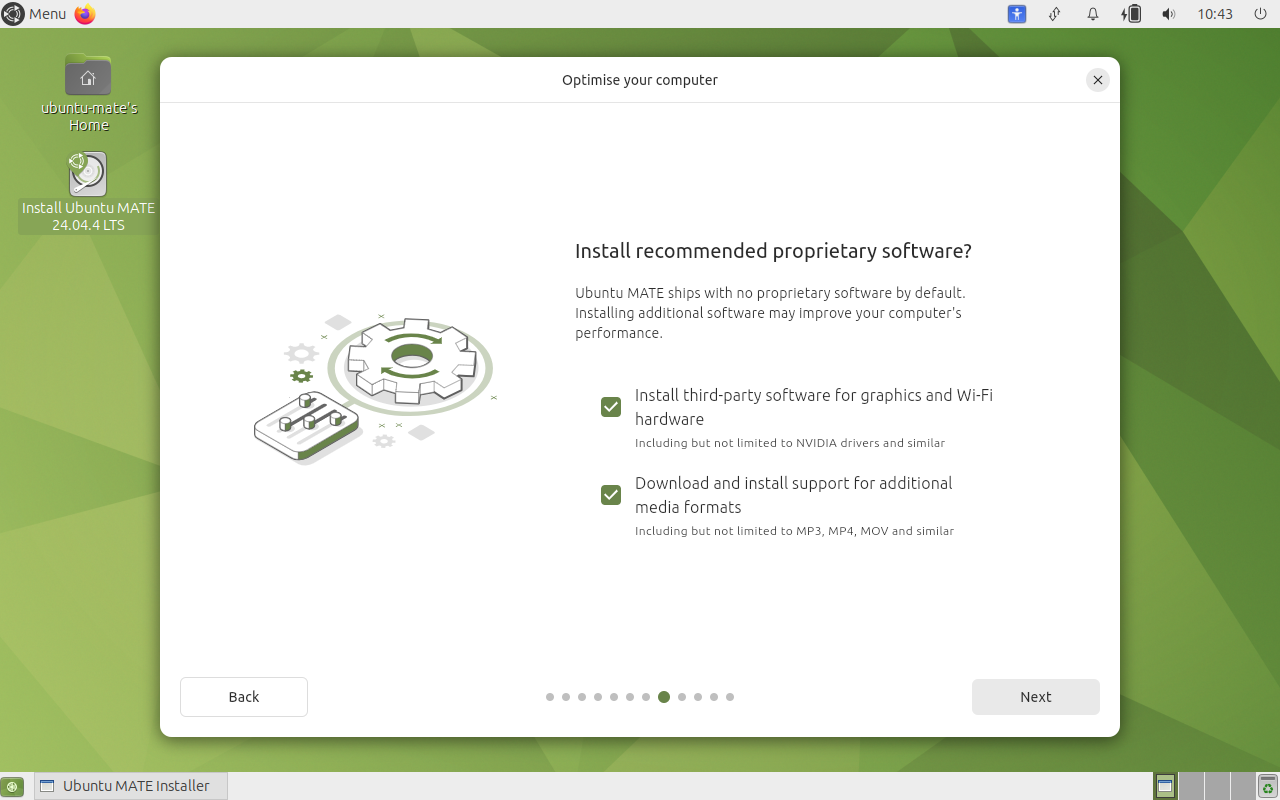
Step 8 — Proprietary Software
Tick both boxes:
- Install third-party software for graphics and Wi-Fi hardware
- Download and install support for additional media formats
Then click Next. See Fig.10 — Install recommended proprietary software.
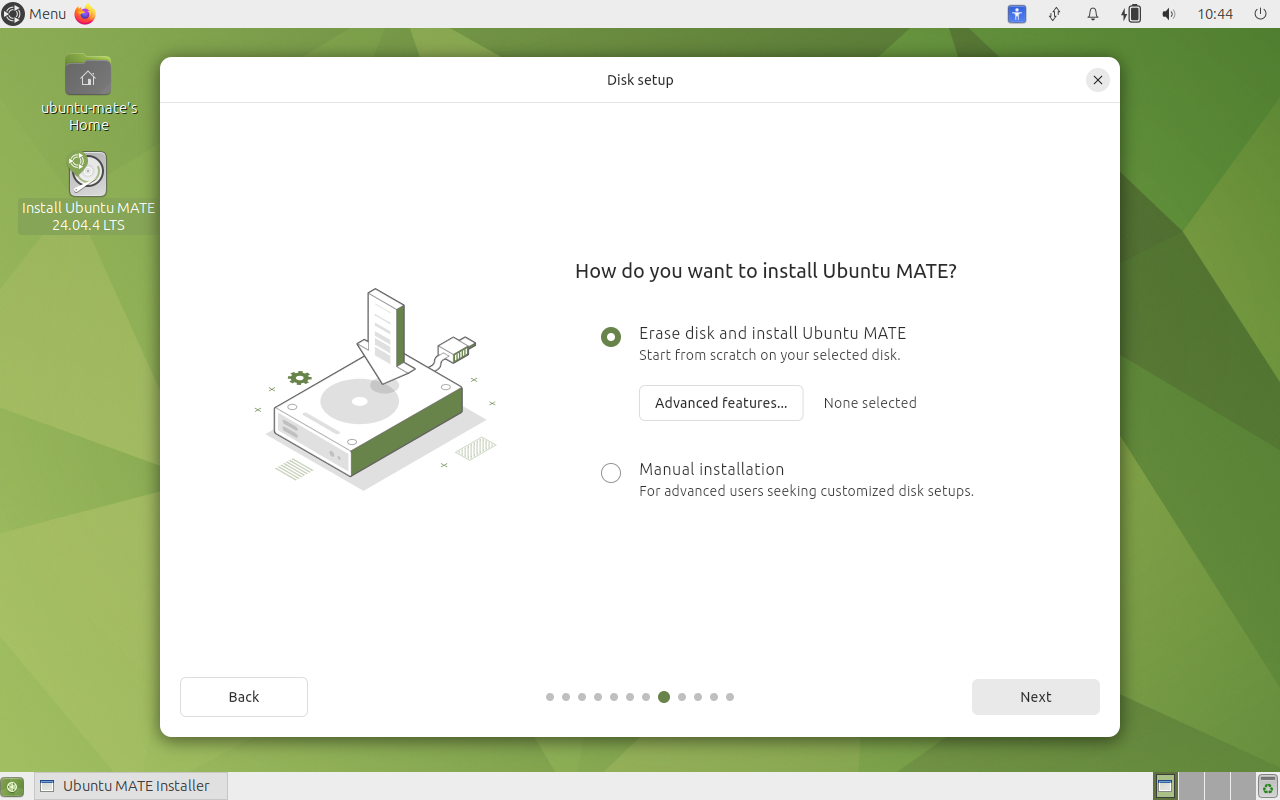
Step 9 — Disk Setup
Select Erase disk and install Ubuntu MATE, then click Next. See Fig.11 — Erase disk and install Ubuntu MATE.
Step 10 — Create Your Account
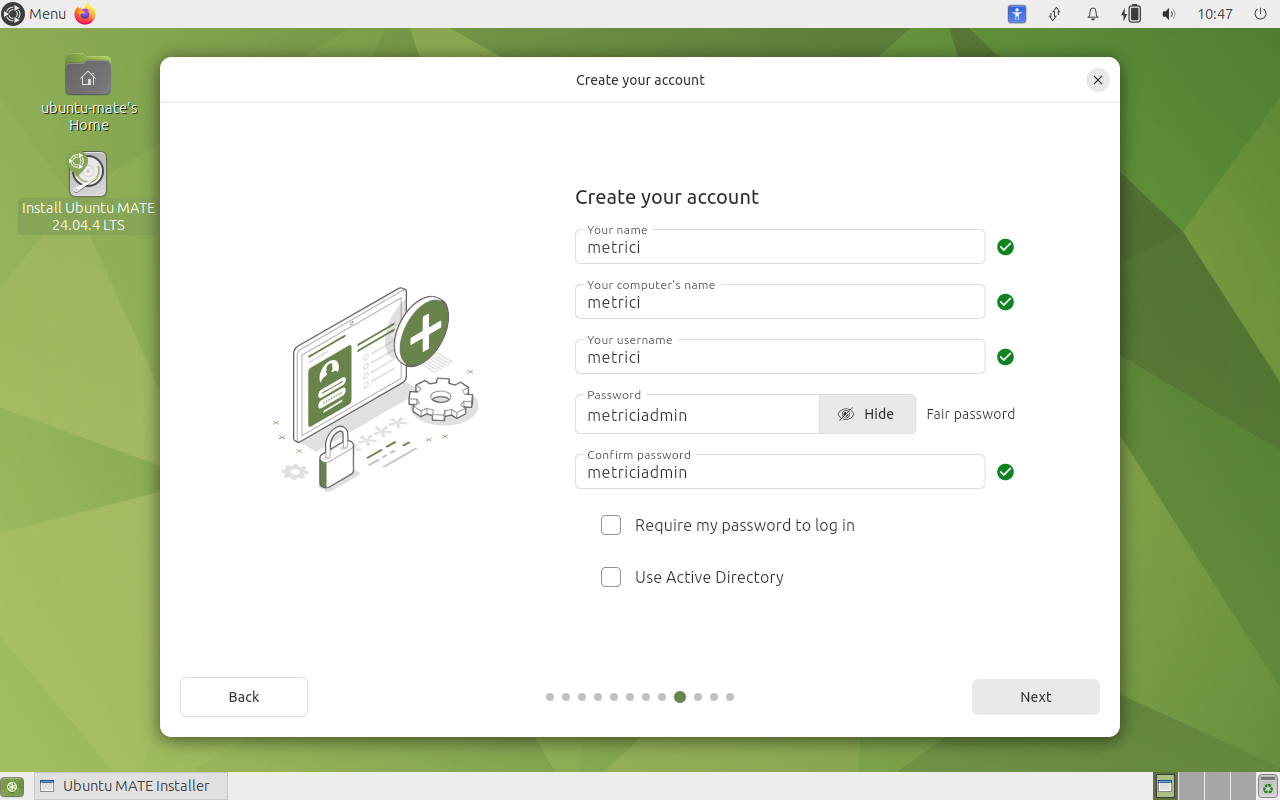
Enter the account details exactly as shown below. See Fig.12 — Create your account.
| Field | Value |
|---|---|
| Your name | metrici |
| Your computer's name | metrici |
| Your username | metrici |
| Password | metriciadmin |
| Confirm password | metriciadmin |
| Require my password to log in | Leave unchecked |
| Use Active Directory | Leave unchecked |
Click Next to continue.
Step 11 — Time Zone
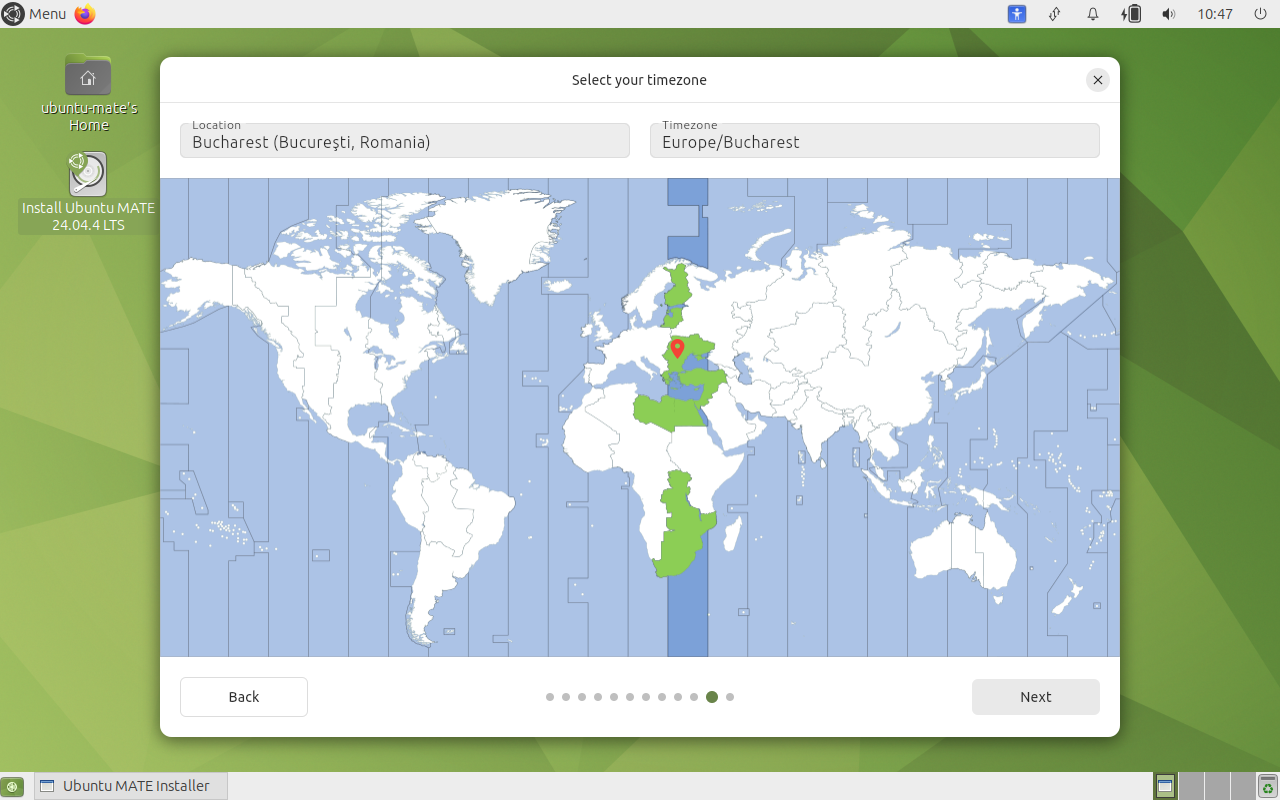
Select the time zone for your location, then click Next. See Fig.13 — Select your time zone.
Europe/Bucharest. Choose the time zone where the server is physically located.
Step 12 — Review Your Choices
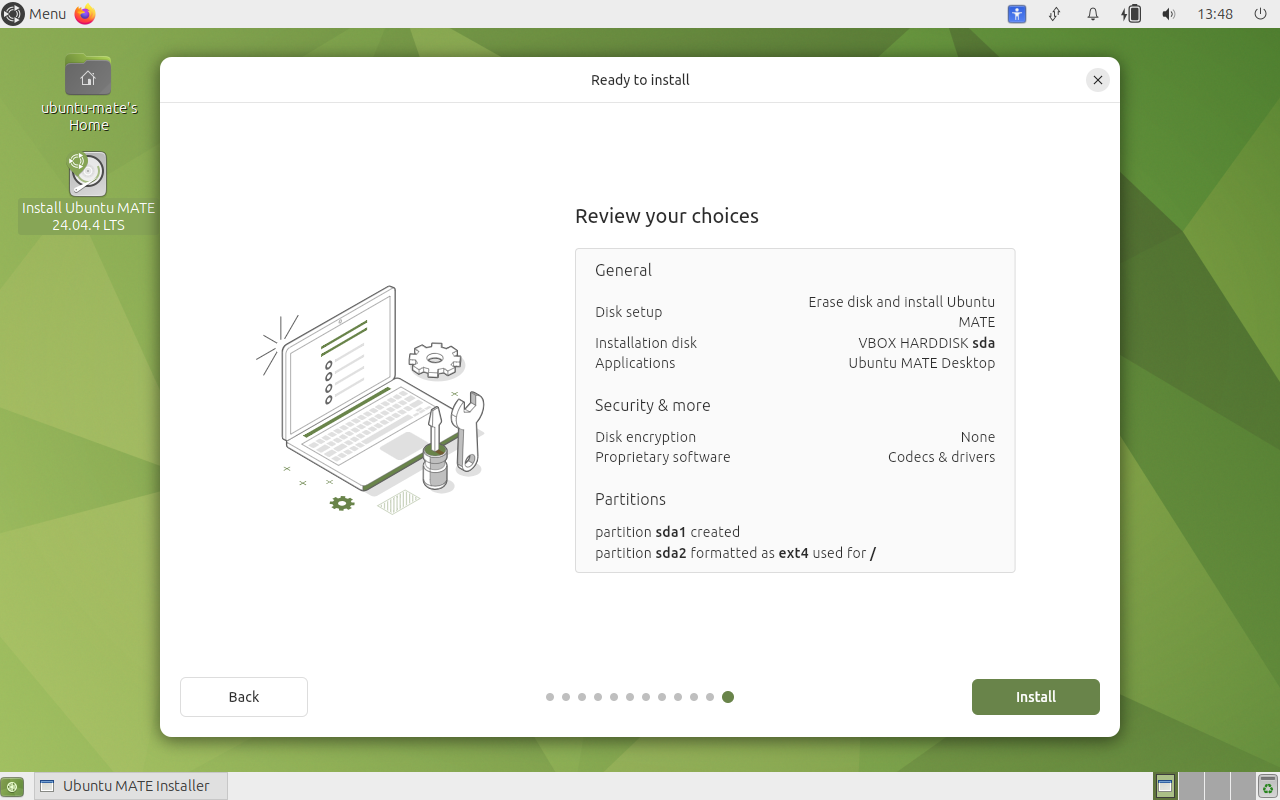
Review the summary before installing. Disk setup should read Erase disk and install Ubuntu MATE and Proprietary software should read Codecs & drivers. When everything is correct, click Install. See Fig.14 — Review your choices.
Step 13 — Installation
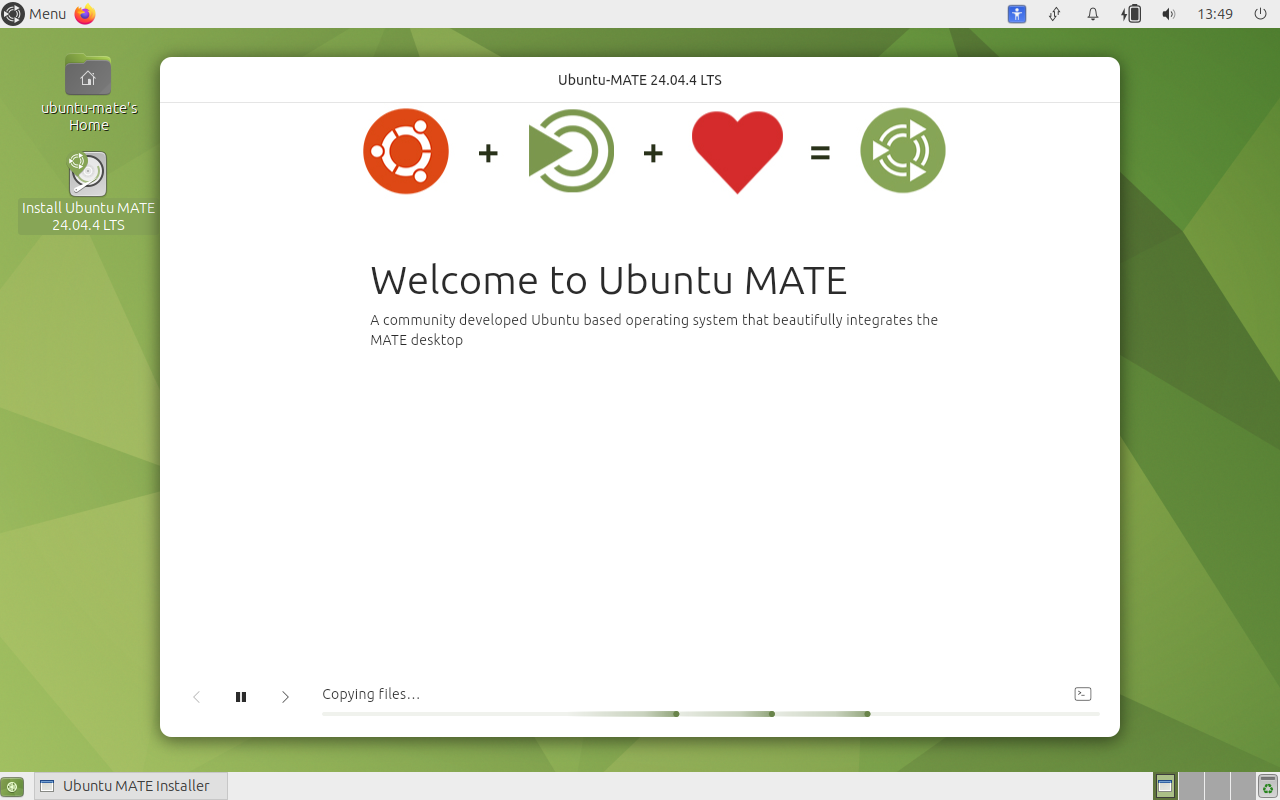
The installer now copies the files to the disk. This takes several minutes — do not turn off the computer while it runs. See Fig.15 — Installation in progress.
Step 14 — Restart
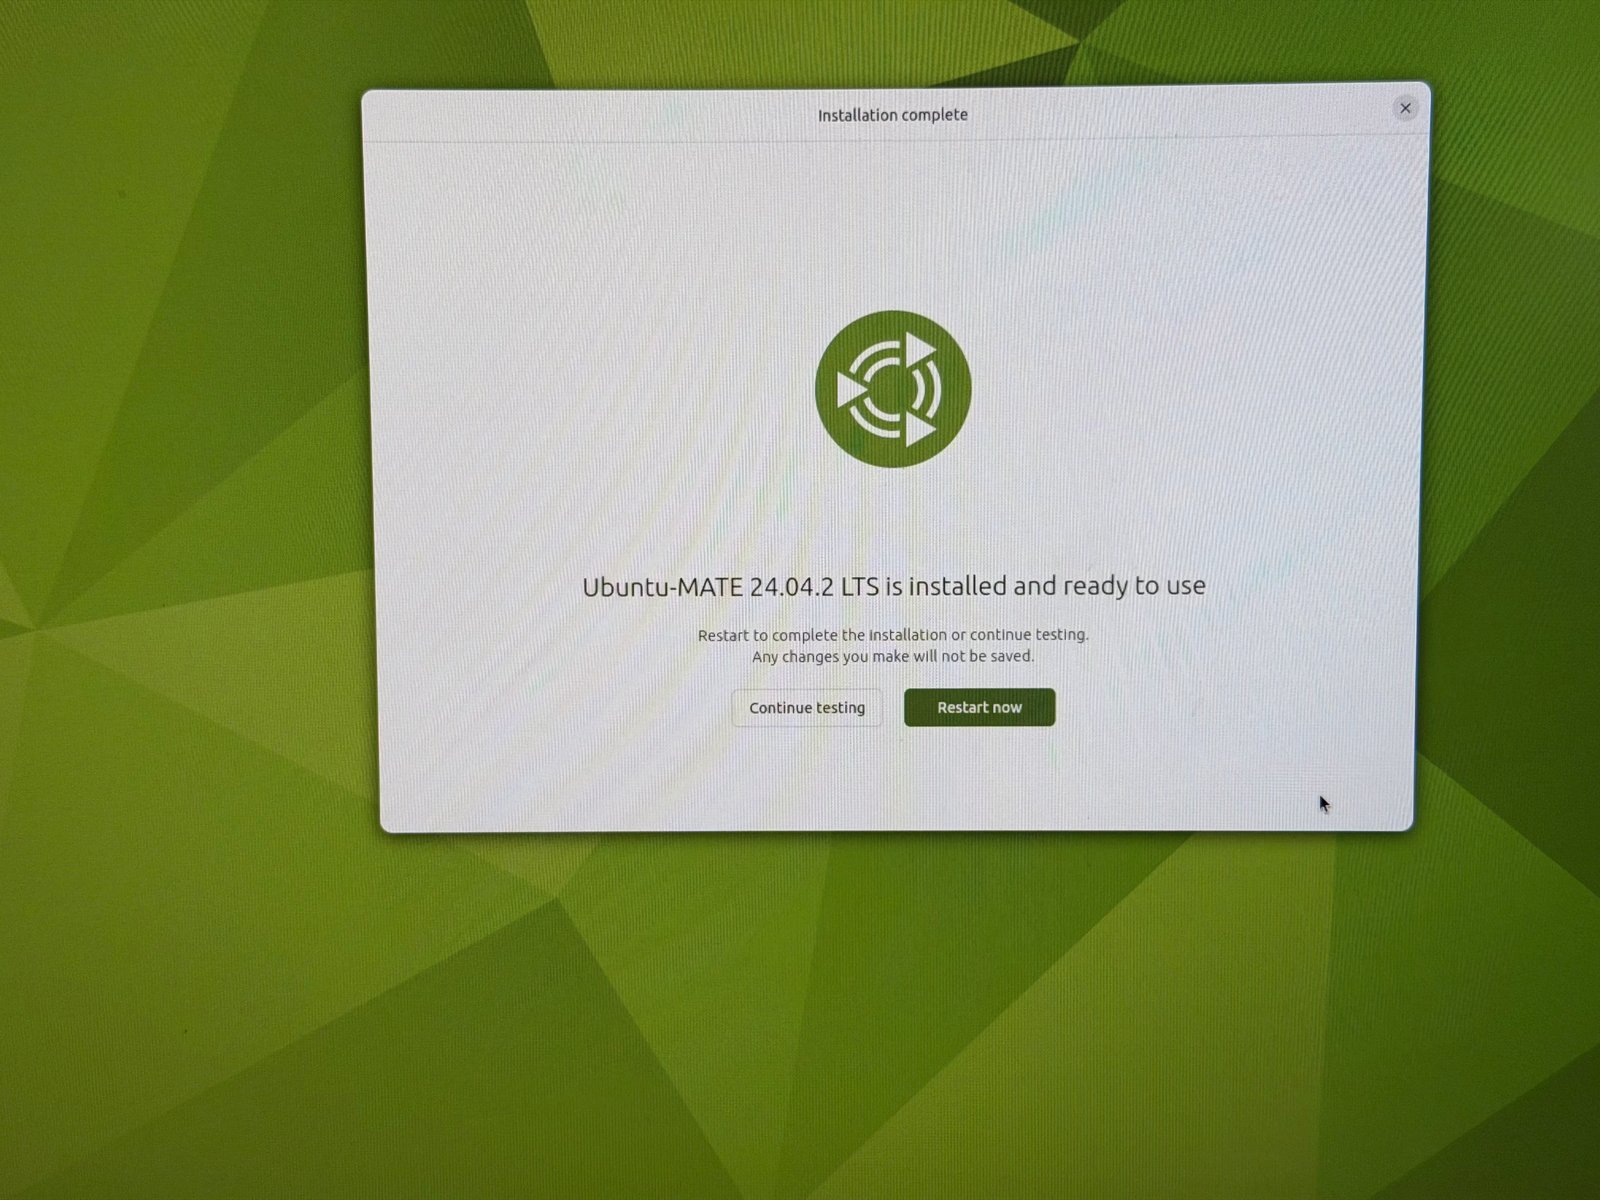
When the installation finishes, the Installation complete screen appears. Click Restart now to reboot into your newly installed system. When prompted, remove the USB stick and press Enter. See Fig.16 — Installation complete.
3. After Installation
After the restart, the system logs in automatically with the metrici account, because Require my password to log in was left unchecked in Step 10. The operating system is now ready.
The next step is to install the Metrici software on top of this system. Follow the Metrici software installation guide:
Metrici Software Installation Guide https://docs.metrici.ro/metrici_install/index.html
If you prefer, contact Metrici support — our team can install and configure the software remotely using the standard account details.
4. Support
If you need help during the installation or with the Metrici software, contact Metrici support:
- Email: support@metrici.ro
- Website: www.metrici.ro
- Support portal: support.metrici.ro